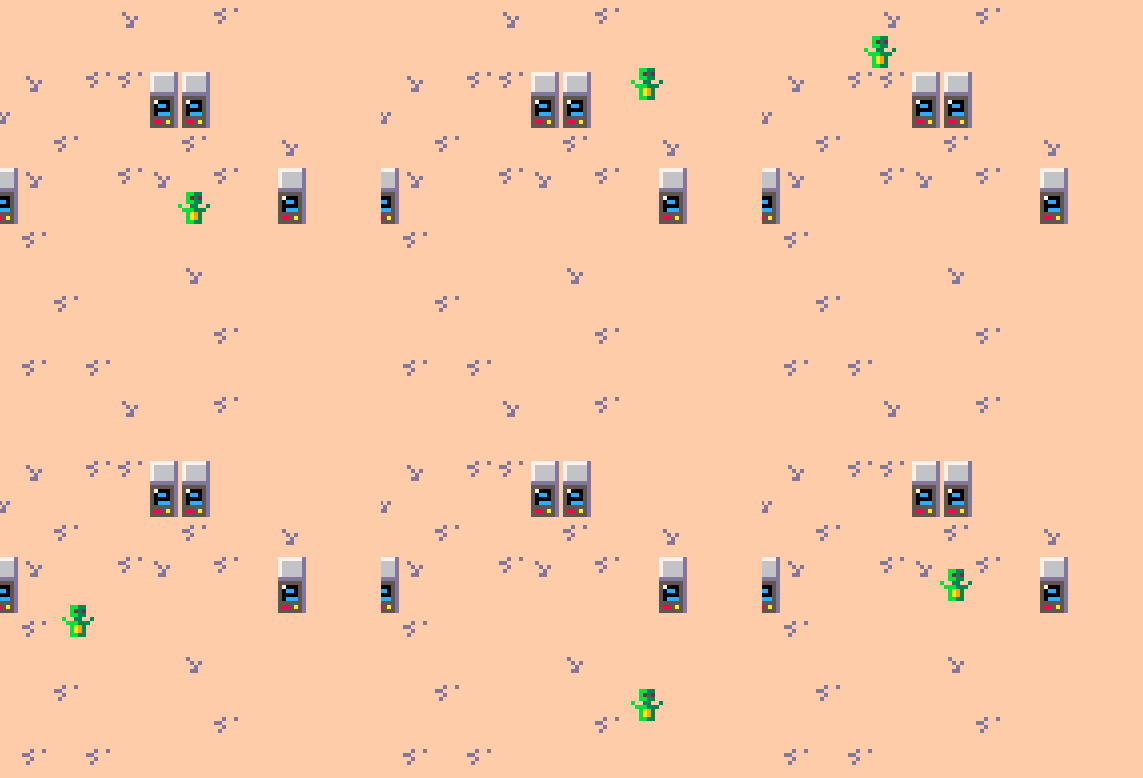
As soon as you have started PICO-8 you will want to get an object to move around the screen. In this post, I look at getting a character to move around the screen and get that character to ‘walk’.
To start with we will, as always, require our two functions (_draw() and _update()) that must be added to every project. Using tabs can really improve the layout of your code and make things easier to work with, especially given the small dimensions of the PICO-8 editing screen.


To create a character we will ne to control its location on the screen and for that we will need its x and y locations. We could store these in two variables called x and y, but the problem comes when we also have enemies or objects as they will also need an x and y variable. To get around this we can create a table with keys for every variable related to the table.
In this case we well set up a table for the player which we can call p. We show it is a table by using ={}. Then, inside the player table we assign various keys for each variable we want to store. So, to start with, we need an x and y variable, so our code is as follows (this is all in tab 0 – variables)
--variables

p={}   --the player table
p.x=64 --key for the x variable
p.y=64 --key for the y variable
Now, we need something to move. This is where you can use your artistic skills to draw a character. Select the sprite editor and draw your character. You need to note the sprite number for later – the sprite I have drawn is sprite 1.
![]()
In order to get anything drawn in PICO-8 you need to use the _draw() function and this is where we will add the code to draw a sprite. This uses the spr() function which requires the sprite number (in this case 1) and the x and y coordinates of the sprite (these values are held in p.x and p.y). The function cls() clears the screen (you can always try the code without this to see what happens!)
--draw
function _draw()
  cls()
  spr(1,p.x,p.y)
end
If you run this code (press ESC and type run) you will see your sprite in the middle of the screen. We need to move it, so in order for that to happen we need to respond to the buttons. There are many elaborate ways of doing this, but for now we simply check each button to see if it is pressed and if it is we change the x or y value accordingly. Remember that the PICO-8 screen (in line with most 2D games packages) has (0,0) in the top right and positive values go to the right and downwards. The buttons are numbered below (from the pico-8 api cheatsheet)

So our code in the _update() tab looks like this:
--update
function _update()
 if btn(0) then p.x-=1 end
 if btn(1) then p.x+=1 end
 if btn(2) then p.y-=1 end
 if btn(3) then p.y+=1 end
end
Now when we run our code, the character moves around the screen:
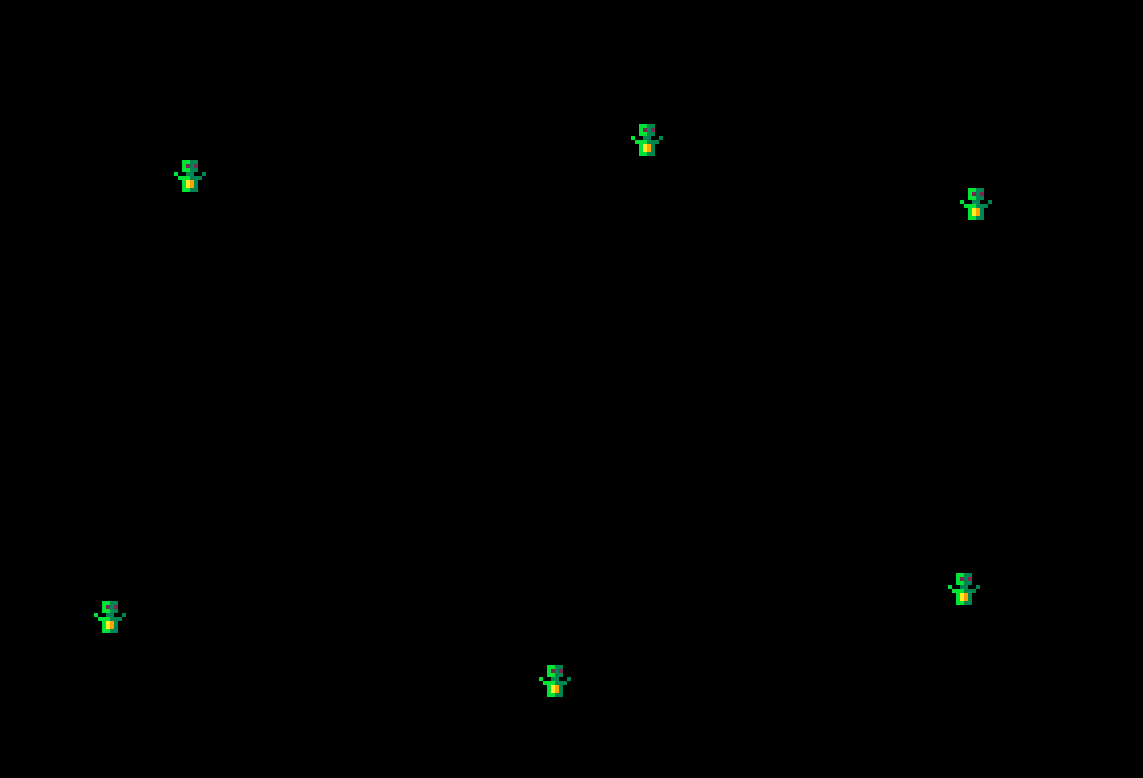
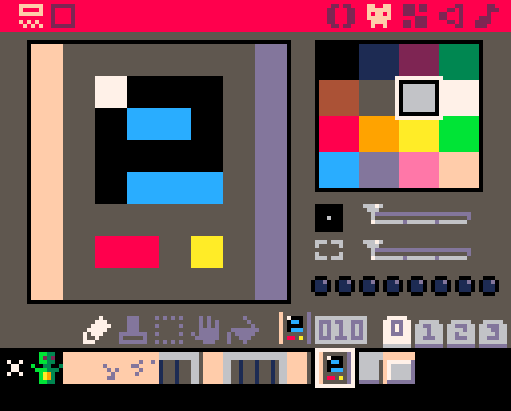
However, we could really do with a background for our game. To do this PICO-8 has the ability to draw maps from the sprites you draw in the sprite editor. First of all, we need to draw two or three sprites that will make our room. I have draw some floor tiles, some walls and a few computer terminals.
These can be turned into a map using the map editor. In here, you simply draw the map on the screen using the usual fill and pen tools that you would find in any drawing package.
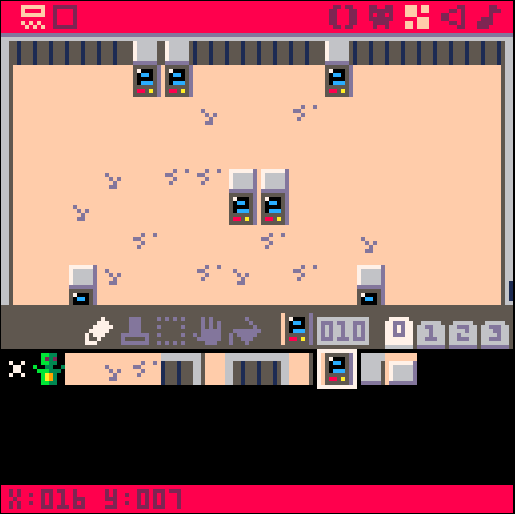
One thing to note is that the screen you see is not the entire game window. To scroll around, you press the spacebar and drag the mouse. For our game we need to make sure the map extends as far as the sixteenth row (that is where x=15) and the sixteenth column (where y=15). When you hover the mouse over the bottom right corner of the map, it should show the x: 15 y: 15 at the bottom of the screen.
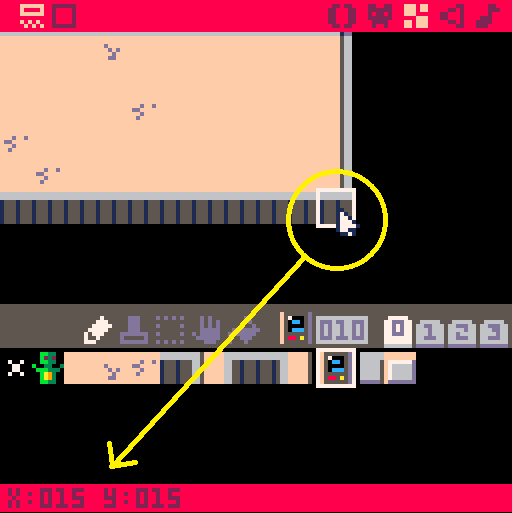
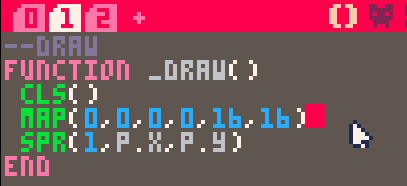
To draw this map to the screen you need to insert the map() function into the draw event. Map requires six variables to tell it what to draw. We will be drawing the 16×16 tile map to our screen starting at the top left of the map screen and drawing it to the top left of the game screen. This equates to
map(0,0,0,0,16,16)
and goes in _draw(). Be careful to put this code BEFORE you draw your sprite or the map will be drawn over the sprite!
You now have a character moving around on the screen. There is much more needed to turn this into a game, but you are a little bit closer now!

Happy programming!

